Prerequisites
- UTM download: https://github.com/utmapp/UTM/releases/latest/download/UTM.dmg
- Install UTM as you would any other Mac program.
- VM virtual disk download: https://capclient.s3-us-west-2.amazonaws.com/Cap-VM.qcow2
- Save the file “Cap-VM.qcow2” for later use.
Open UTM and Create VM
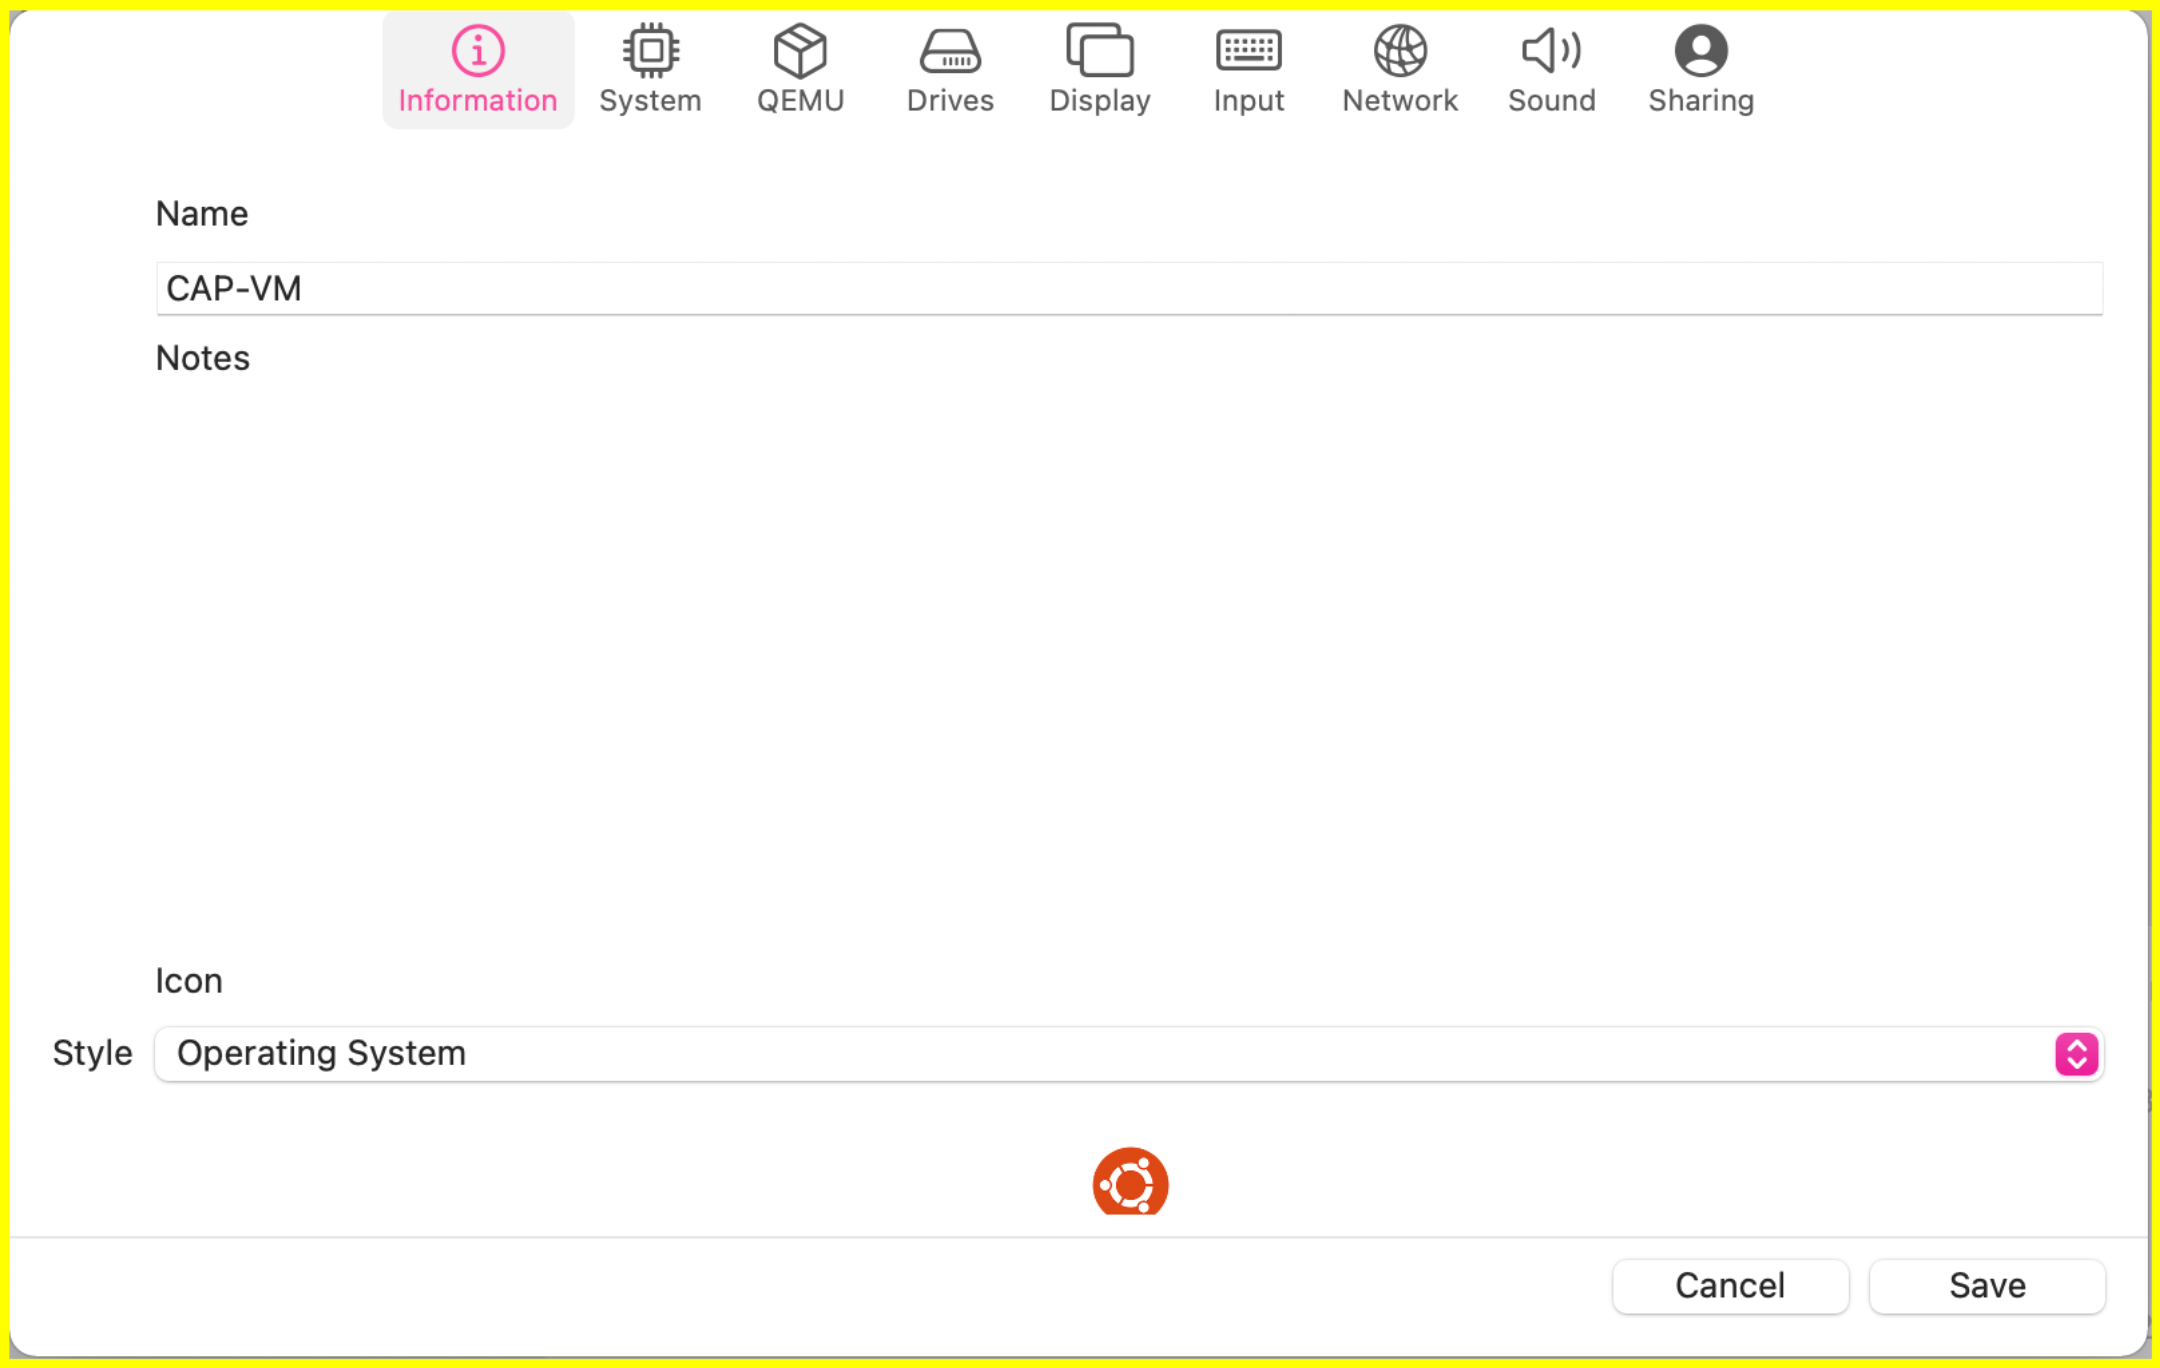
- Give the VM a name, in this case “CAP-VM”.
- Make sure “Style” is set to “Operating System”

- Click on “System” tab.
- In System settings, Please choose x86_64 for “Architecture” and 1024 for “Memory”.

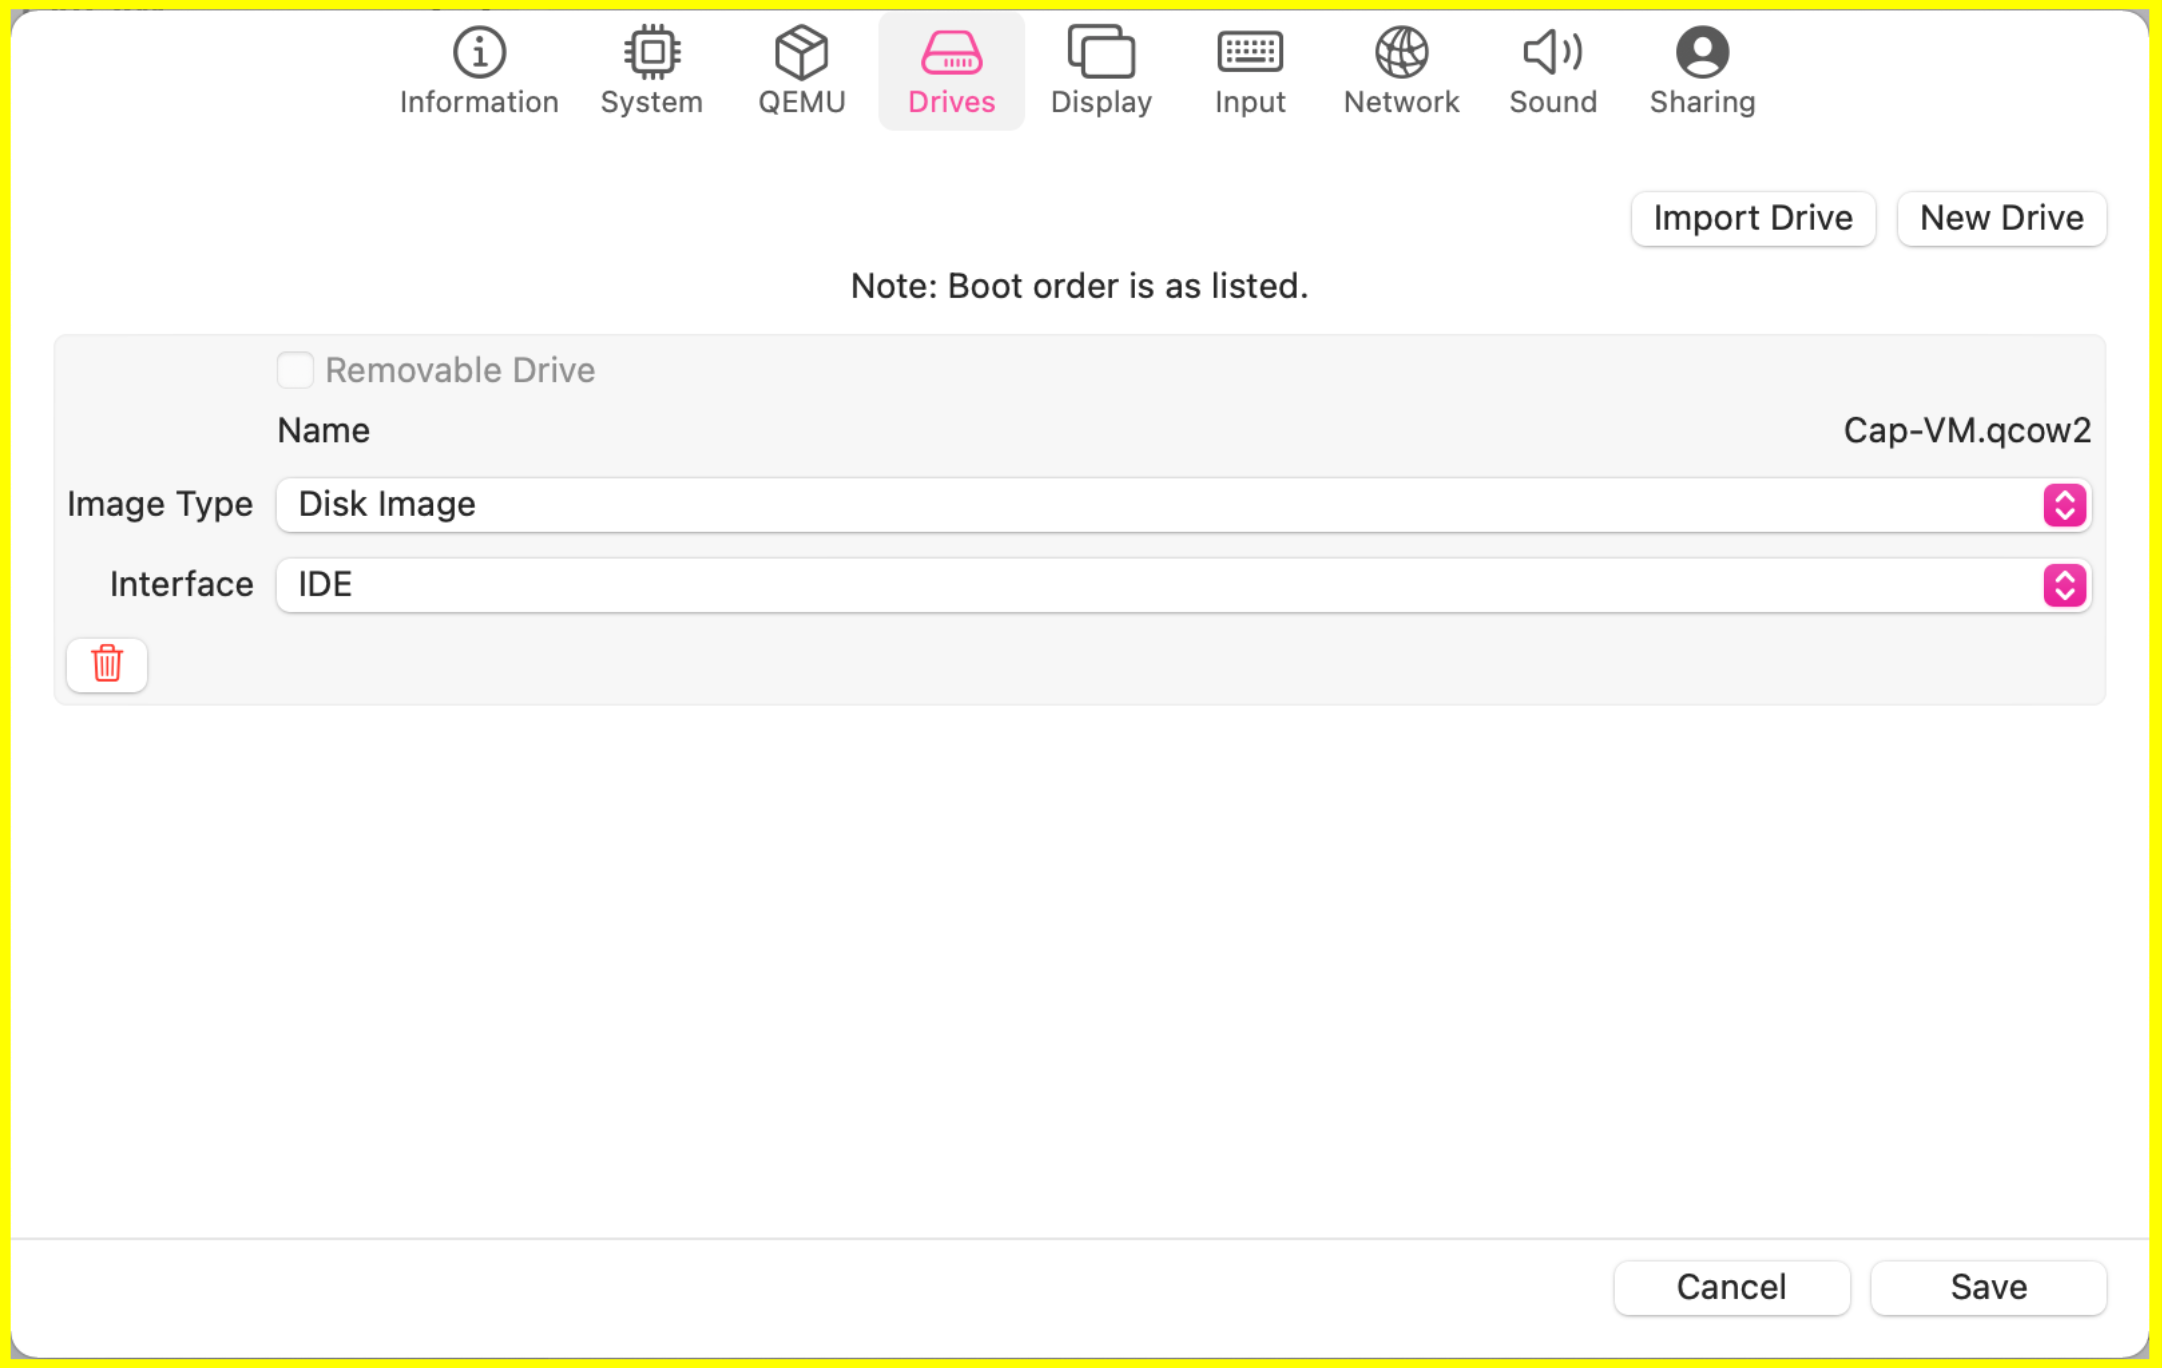
- Now click on the “Drives” tab.
- Click on “Import Drive” and select the “Cap-VM.qcow2” file you downloaded earlier
- In “Image Type” select “Disk Image”
- In “Interface” select “IDE”

- Click on “Save” at the bottom right.
Start the VM
- The VM will now come up to a desktop environment with a single icon at the top left
- Double click the Icon to open the Cap Client
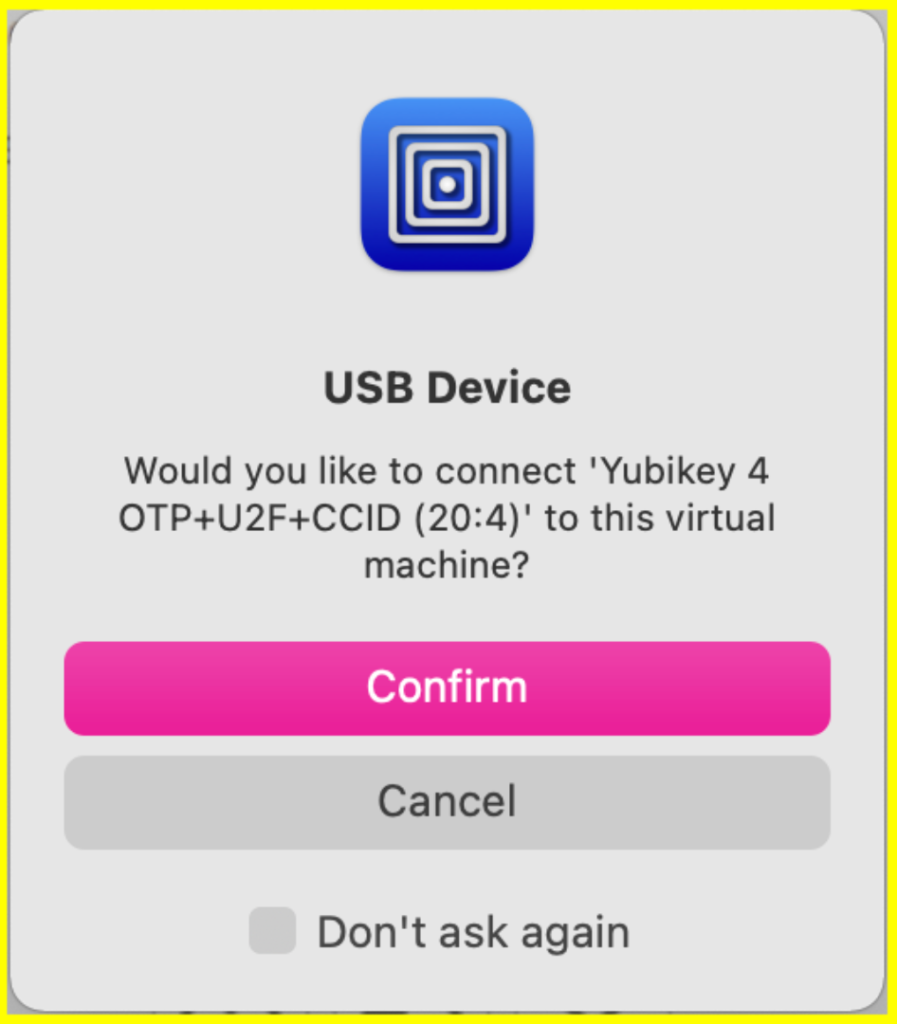
- Insert Yubi-key. You will get the following two popups
- Click “Confirm” on the first
- Click “Always Allow” on the second


Your Virtual Machine should now be ready!
Follow the instructions on Using the HPC Client to log in.
Questions? Having problems?
Any additional questions about this process or recommendations for this guide can be sent to chad.epling@netl.doe.gov with SEBUC-Support@netl.doe.gov CC’d
Special thanks to Harleen Kaur for her help in testing and providing screenshots for this guide.
